Sunday, April 27, 2014

Trying out raised bed gardening with a brown thumb

Although I am pretty good with animals, I can't pretend to have any skill with gardening.  Over the winter, my two 4 year old fig trees died in the cold - I know I should have surrounded them in straw, but it somehow slipped my mind.  I planted 6 raspberry bushes, and the 3 remaining bushes look like this:

Displaying photo 1.JPG
Embarrassed to say, but this is the best
looking of the 3
So the idea of having a vegetable garden is a bit daunting.  You would think that, living on over nine acres, we would have a garden at least an acre in size.  The best I dare take on at this time is two raised beds, 4ft x 8ft.  If all goes well, we will have zucchini, strawberries, sugar peas, and tomatoes.

I've already made some mistakes.  We built the raised beds and did not even think of the type of lumber - we used treated lumber, which can leach chemicals into the bed.  With the help of my procrastination tendencies, we let them sit out in the elements for 2 years, and I'm told they should now be safe for "above ground" vegetables (but never root veggies).  

I hoed the bottom that was deeply overgrown, then put down year old horse manure covered with 4" of garden soil.  Now I found out that I should have pulled all the grass and weeds that were growing, as they will probably make their way to the surface.  Did I mention I am no good at this gardening stuff?

Anyway, look what popped up this weekend!  Sugar snap peas!  I am so excited!

Displaying photo 2.JPG
Can you see them? They are still tiny, but they
are GROWING!
I know that these sugar snap peas need something to grow on, so my father-in-law, my son, Caleb, and I went into the woods and cut swamp grass bamboo and built this:

Displaying photo 3.JPG
Grow, dang it!
It is sturdier than it looks, and after clipping the top to prevent the wind from catching, my engineer husband says it should work!  Woo hoo!  I even said a little prayer over the pea sprouts.  I will let you know how they turn out.


Raising chicks - Part 2, the brooder

I don't plan on only writing about a chickens, but since this was my first real farm animal for our small farm, and because backyard chickens are becoming the norm in many places, I thought blogging about chickens is a good way to start.  This is part 2 of my chicken discussion, where I discuss the brooder.

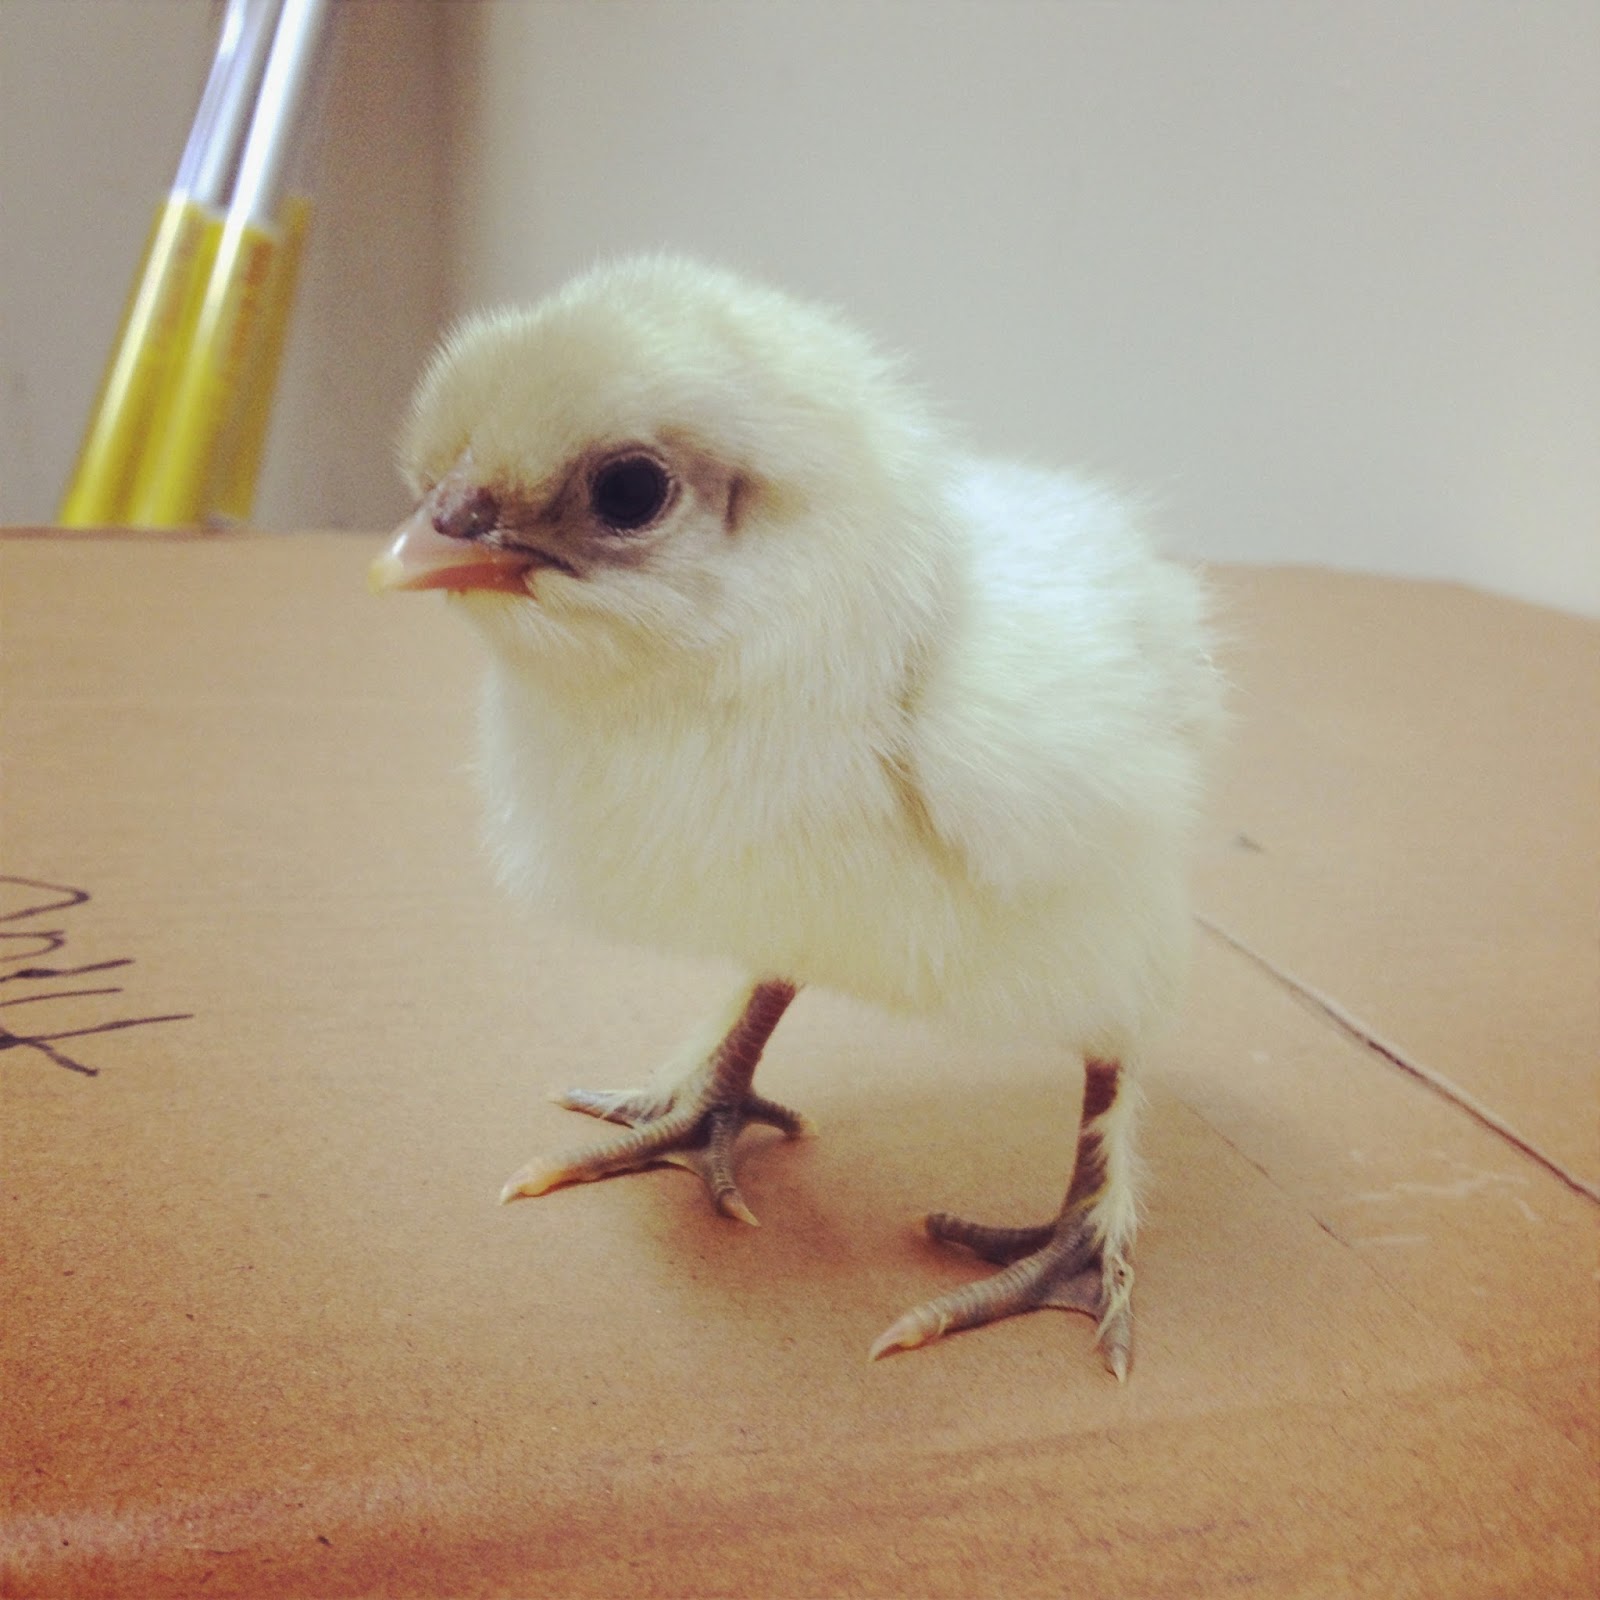
Splash Marans chick, 2 days old


A brooder is an area where you keep your new chicks.  Chicks can also be hatched and raised by a broody hen, which is much easier, but the chickens tend to be a bit less friendly than those hand raised. (And broody hens are less common these days when we want our chickens to lay the eggs and leave them for us!)

The basic necessities for a brooder box are:

1) Brooder box with shavings

My first brooder box was a box - a cardboard box that I kept in the bathroom with 6 baby chicks straight from the hatchery.  It stunk, was difficult to keep clean, and it seems the chicks were  always knocking over their water, making a huge mess.  You can raise chicks in a cardboard box, but I wouldn't recommend it.

Most places use a bin style brooder, such as a water trough.  It seems to work well, but can be difficult to clean.  Our last couple batches were brooded in a dog crate with a heavy blanket covering sitting up high enough to make cleaning easy.  We put cling wrap around the bottom to keep from losing shavings, and developed a special formula for keeping it dry - trash bag on the bottom, followed by pellet bedding followed by a thin layer of polyester (like a sheet or, in my case, scrap quilt batting) followed by shavings.  Any wetness flows through and is absorbed by the pellets, keeping the shavings dry. Chicks must stay dry - especially in the first couple weeks.  A wet chick will die very quickly, so if a chick gets wet dry it well with a hair dryer until it is fluffy and warm (you can tell by the temperature of the feet).

The chicks seem to stay tiny forever, then around 3-4 weeks, they are suddenly huge. Be sure that your brooder either is big enough to accommodate growth or that you have a larger area set up for when they grow.


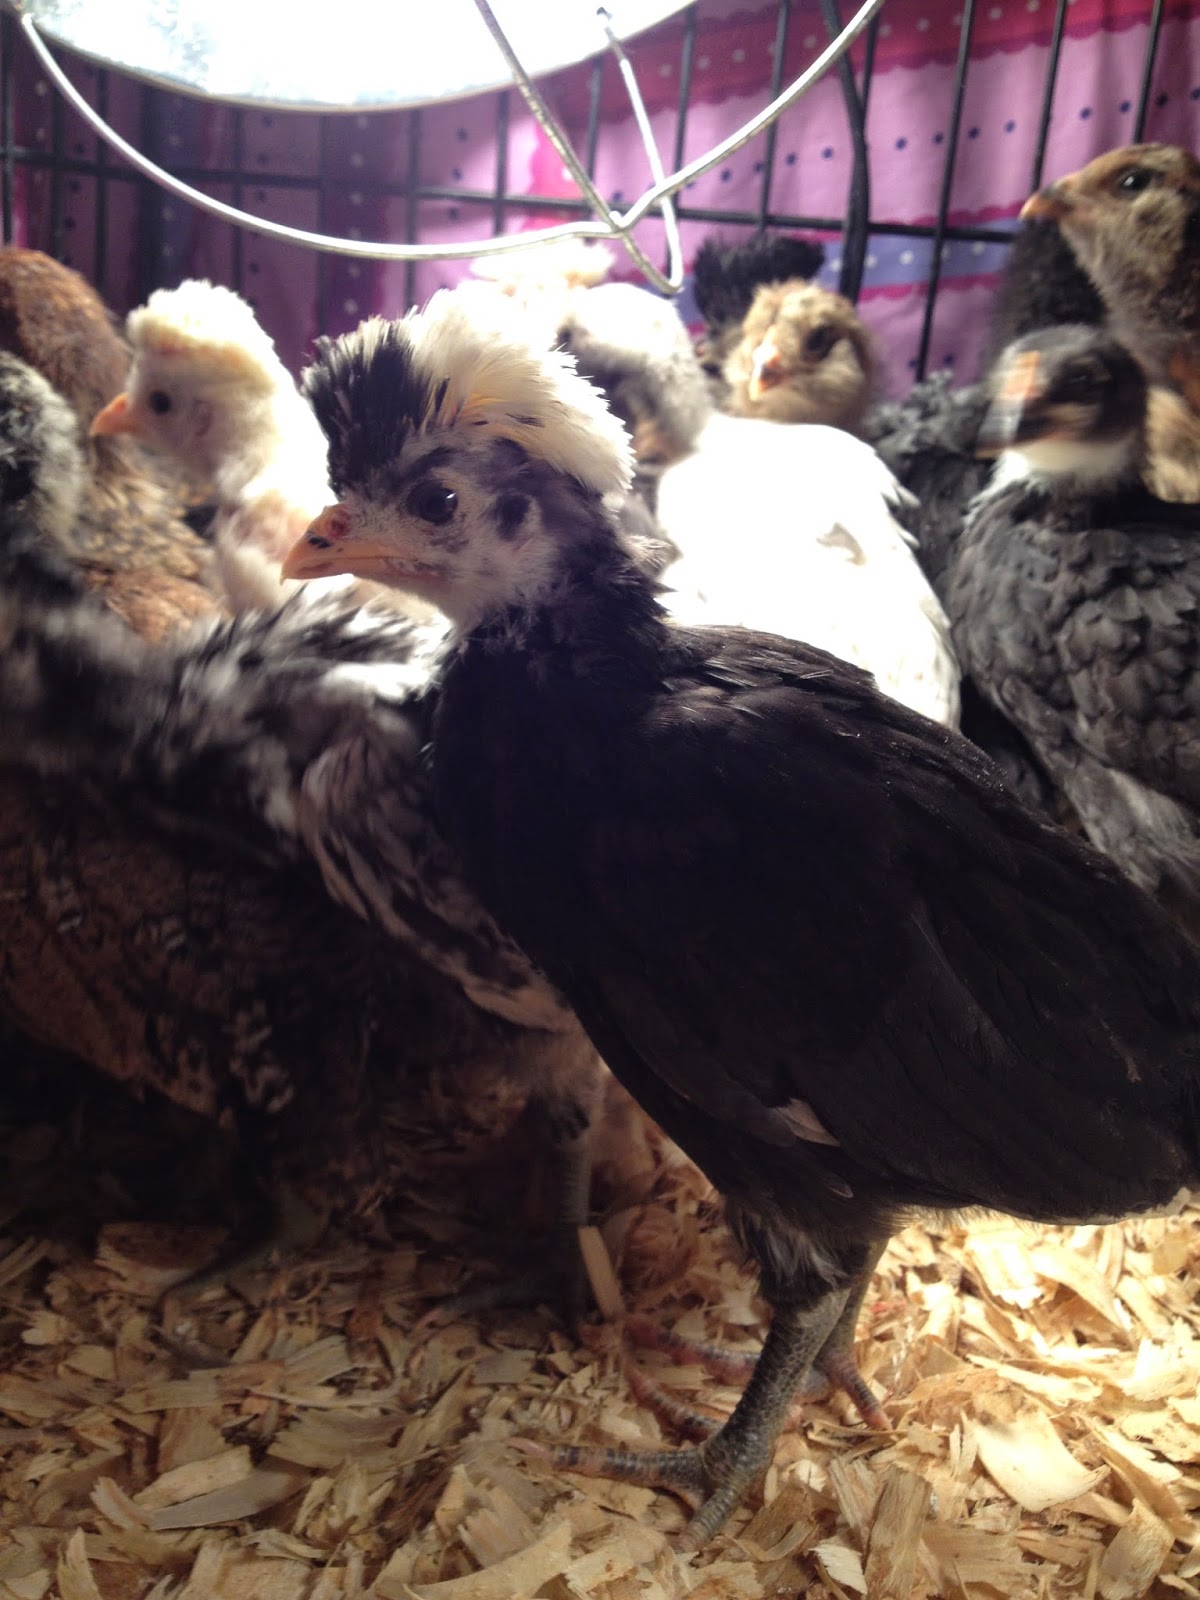
Polish chicks - time for a larger brooder!

2) Heat lamp

Chicks must be kept warm.  The first week 90-95 degrees, the second week 85-90 degrees, and decrease by 5 degrees until they 5-6 weeks old.  You can tell if you have the right temperature if they are neither huddled together under the light (too cold) or against the wall away from the light (too hot) - they should be milling around looking for trouble.

The heat lamps can be found at most feed stores.  You can use a red bulb made for the brooder, which is very warm, or use a normal 100 watt lightbulb that you will need to keep closer to the chicks.  The red coloring of the bulb serves a practical purpose - when a chick is injured and has a blood spot, all the other chicks instinctively will peck at it, and may even peck the chick to death before you realize it.  The red brooder light helps mask any injuries to protect the chicks.

3) Feeder and feed

I recommend a medium size feeder for the brooder - it looks enormous initially, but will be useful and big enough to use as the chicks grow.  There are two types of chick feed: medicated and non-medicated.  The medicated feed protects against coccidiosis, a disease which can be fatal to young chicks.  Initially medicated feed sounds seems like a good idea.  However, the coccidia which causes coccidiosis is present in chicken poop, and some people feel that if the chicks are given medicated feed, they don't build up an immunity to it, and are more susceptible to becoming ill when switched to regular feed.  We chose non-medicated feed, and had no problems.

4) Waterer

Again, I would recommend a medium size waterer.  Initially it will go right on top of the shavings so the peeps can easily reach the water, but you will need to raise it up as they grow to prevent shavings from getting in.  Once the waterer is filled with shavings, not only does it prevent access to water, but the shavings pull the water out and siphon it onto the floor, causing wet chicks!

5) Additives

If your chicks are being mailed, use Save-A-Chick electolight packets (or other vitamin and probiotic powders) in the water for the first week or so to help give them a boost.  We also used a "drench" to add extra vitamins the first couple weeks, and it seems to help strengthen the little ones.  If your chicks are getting "pasty butt" (poop clogging the anus), you will need to keep the are clean and dry, but also add Save-A-Chick probiotics or give mix some yogurt in with their food (very messy).  As they get older, buy some dried meal worm treats to teach them to come when you call.

Give me MORE mealworms!

That's about it for today.  I will soon be writing about the big girl hen house and <shudder> predators.


Saturday, April 26, 2014

Raising Chicks part 1, choosing the breed and sex

Lucas, at 8 months, with my niece's chicken.
I knew I wanted chickens from the start.  I read all the books and spoke with people who had chickens.  I bought my little hen house kit and put it together one hot day when my daughter was home sick.  Then I ordered my 6 chicks and prepared a cardboard brooder box for their arrival.  I had no idea how much I had to learn.  For those of you who are planning your own flock, I thought I would let you know some of the things I learned.

The first thing you should know is that chickens are addictive!  You will find yourself watching the chickens all day long, talking to your friends about chickens, and subscribing to poultry magazines.  You will find others who love chickens and make Facebook friends in the poultry world when you need advice.

I purchased 6 different breeds that are known to be good layers and do well in the weather of Virginia.  Even before they were out of the brooder, I knew that 6 was not enough.  I learned about the fancier breeds like Silkies and Polish, and hunted them down on Craigslist.  When planning your flock, I know you want eggs, but include some fun pet type breeds!  They are friendly and cute, and friends will not mind seeing the multiple pictures on your phone and FB of your chickens if they are adorable.  Research all the breeds and make your decision carefully (be sure to Google "frizzled" chickens - over the top cute!)

You may hear the term "bantam" - this is a small chicken, which lays very small eggs. Some breeds come in standard or "large fowl" (full sized) and bantam (small sized), while others come in only standard or only bantam.

bearded chick
"Easter Egger" chickens lay blue eggs. The Easter Egger
is a mixed breed - "Ameraucana" is pure bred.  (Occassionally
you will get one that lays olive colored or brown eggs.) 

The sex of chicks:
Pullet means female.  If you are ordering from a hatchery, you can order all pullets, but keep in mind that sexing is only 90% accurate.  In my first batch of 6, two ended up being males.

Straight run:  Unsexed chicks, meaning you are likely to get quite a few males. Some feel buying straight run, and planning to cook and eat the males, is the most humane thing, since it gives the males a chance at having a good (yet short) life.  Although I understand the logic, I just couldn't.

Males or "Roos" (young males) also called cockerels or roosters:  Roosters can be difficult to  find a home for, so start thinking about what you will do with the roo now.  Some thoughts: In certain breeds, roosters can turn aggressive, no matter how much you have handled and loved on them as babies. Having a rooster go into a pot (yours or someone else's) can be hard to come to grips with, but realizing that he has had a much better life than those brought up in commercial facilities makes it easier.  When trying to get rid of a rooster, once it is over a year it is less suitable for eating, so making the decision sooner rather than later is to your best advantage. 

Stanley was supposed to be Stella. He was very aggressive
and, after attacking my son, helped me come to grips with
the idea of eating a chick that I hand raised.  I could not do
the deed, but gave him to a nice Italian woman for the pot.

More about Roosters:
You don't need a rooster to have eggs.  You only need to have a rooster if you want the egg to turn into a chick.  

You can eat eggs that have been fertilized by a rooster.  The fertilization takes place by sex, with the rooster hopping on top of the hen.  As long as a hen has not been incubating the egg, it will not turn into a chick.  Hens usually lay a few eggs before sitting on them, so as long as you collect your eggs at least once a day (twice a day if you have a hen that is broody or wants to sit on them), your eggs should be fine. More about eggs in a future blog.

You can keep multiple roos together, especially if they have grown up together, and most will figure out how to get along.  Some may fight - certain breeds are more aggressive than others.

Wow is this blog getting long - I will write more about the brooder in my next post!


Friday, April 25, 2014

New to Pungo

We are new to Pungo, having lived in this area of Virginia Beach for only a couple years.  Before coming out this way, we were warned that it is a hard community to move to.  Rumor has it that people in Pungo don't welcome "outsiders," and maybe it is true with some.  Living in the Creeds area of Pungo, we have found just the opposite.  It may be that, coming from country bloodlines, we fit in a bit easier.  It could be that, having grown up in the country as a child, this life came easy.   Whatever the reason, moving out here felt like coming home.  This place is like being in an old book; it is so wonderful, that it seems like it could be fiction!  I am starting this blog as a way of keeping a journal of our experiences.  Even if I am the only one to read it, I want to record this incredible journey.

Introductions:  "We" is composed of:

My husband, Dan, and me, Jane

Our children:
Caleb
Lucas
Rebecca

And our plethora of pets - a dog, 3 cats, 2 horses, chickens, guinea hens, and 3 new ducklings.

Last year was hectic and a struggle to get things done, built, and planted.  It was a great time of learning.  This year's challenges have become easier as we learn more about what to expect of our selves, our animals, and our property.  Last year we bought a shed and converted it into a chicken coop, hired someone to build a barn, hired someone to put in posts for a horse fence, and planted fruit trees. Then we learned about raising chickens, handling predators (we have a lot from hawks and owls to foxes and the occasional coyote), deer who eat baby trees, drainage issues, surveying, and how to build our own damn fence and structures. As a result of our knowledge, this year we have dug a ditch, installed electric netting and pinwheels to deter predators, moved our horse fence off of the neighbor's property, started composting, and plan to build a carport for our tractor and add more fencing to protect our sticks that were once trees.

Should be fun!